Saturday, November 20, 2010

Snowman Candy Bar Wrap

No Snow?  No Worries! Whip these little Snowman Candy Bar Wraps up in no time at all!

..... No Snow needed! 


                              Turn this.....


                                  Into this..... 


                            It's Easy Peasy!!!


Download  instructions and template below!

Instructions and Digi Stamp

Monday, November 8, 2010

So excited........I just can't hide it...

For some of us, keeping a secret is a pretty difficult thing to do...

Coffee ... check  .....

Morning news....check ....

Jay's lunch...check .....

Menard's Honey Pick Me Up List...Check......         

OK.... I'm  ready to roll on this morning! 

Now...... what was I  going to do?

Oh right, I was going  to share some great news! 

A few months ago I was asked to be November's Guest Designer over at Memory Works! 

I really didn't have to think about the answer!   Afterall, how could I say no???!!! 

Then it happened....

As soon as I said yes.....

the ideas began... 

the mind went on overload.....AND


Since one of my favorite words is "Believe"...

...of course a Christmas banner was in order!

Bottom Pennant:
I developed an SVG file and cut the pennant with my cricut.  (download free here)
  --free SCUT2 files at bottom of post

I cut the pattern 7 times, one for each letter, and inked the edges using ColorBox Cat's eye fluid chalk.

BasicGrey's flocked demask adds ... ohhhh la la la! for sure!!

Using my favorite Christmas songs, I typed in titles and printed them on white prism cardstock, cut and inked with ColorBox Cat's eye fluid chalk.


Next up?  Rosettes of course!

I developed an SVG file for the rosettes and cut them with my cricut. (download free svg here) 
      
Cut the pattern 7 times, one for each letter, then accordian folded each one at 1/4" intervals and set aside.

Then cut 7 - 2" circles, formed the rosettes and using hot glue, glued the 2" circle to the back of the rosette.  Hot glue dries fast! Gluing the 2" circle on the back and the hot glue both help the rosettes keep their shape!

Then I cut out the letters and shadows,  and glittered EVERYthing... including MYSELF!  

I LOVE glitter, but HATE when it gets all over everything, so I sealed it with modgepodge... and here's how I did it...


Finally!  Time to assemble!


1.  Lay banner pieces on flat surface and grab your hot glue gun!


2.  Apply hot glue to back of each Rosette (on back of 2" circle) and position on pennant

3.  Apply hot glue to back of each letter and position on Rosette.


4.  Apply Christmas music strip to top of pennant


5.  Punch holes in each top corner of pennant, thread tulle through and tie
         --When I tie the tulle, I like to leave about 1/2" between the pennants so they are able to move when
             hung. --Just adds to the 'flow' and beauty of the banner!


Download the SCUT2 pennant and rosettes free click here!


To see more of my projects and what's been happening, hop on over to the Memory Works Blog (click here)!

But Wait!  The excitement surely doesn't end here....

There's WAY more to come!

 Have you seen the November MemoryWorks Express Kit ???


I have some FUNTASTIC Christmas ideas cooked up and simply can't wait to share them with you! 

Stop back soon!  The UPS man just dropped off my November Express Kit....

WOW! It's beginning to feel ALOT like Christmas!!  Can't wait to share more with you!

Have a Craft Happy Kinda Day!  ~Rhonda

Friday, October 15, 2010

Fabulous Friday Finds at Etsy!

With Christmas just around the corner, I decided to do a bit of shopping today...... 

I absolutely LOVE Etsy!  Take a look at the treasures I found today.....

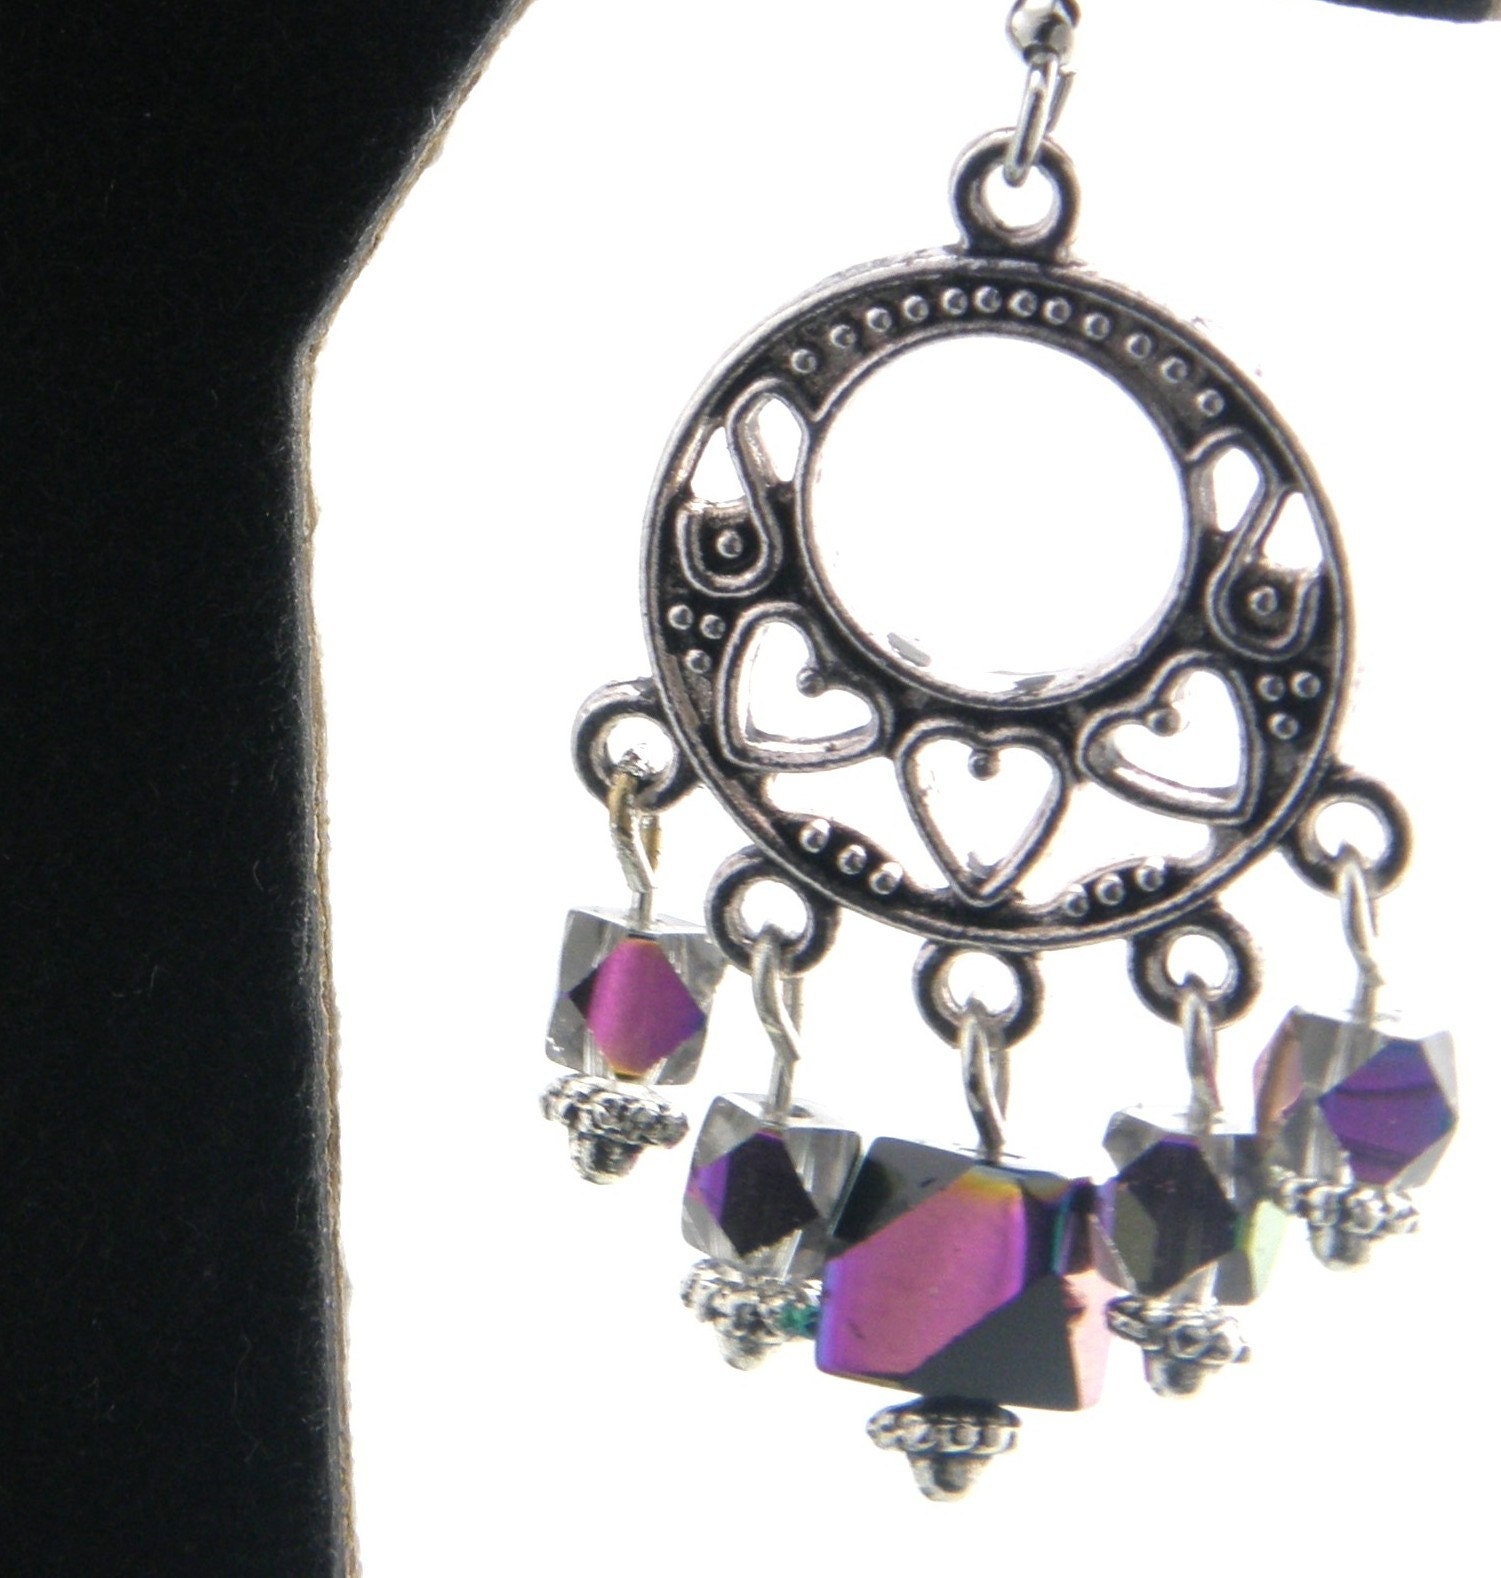
First Stop..... a pair of stunning earrings over at galla15

Heart Chandelier and Swarovski Crystal Earrings


Next stop...  over at  debstgo's shop I found this gorgeous print! 

Ambiguity 8x10 Fine Art Photography Print

Then I hopped on over to Giftbearer's shop where I found this stunning bracelet!


On to jQjewelrydesigns where I found a stunning necklace!

Electroformed Lampwork with Brass and Copper Chains


Next stop a wonderful 2011 calendar over at Crystalphotography

2011 Calendar of Seasons


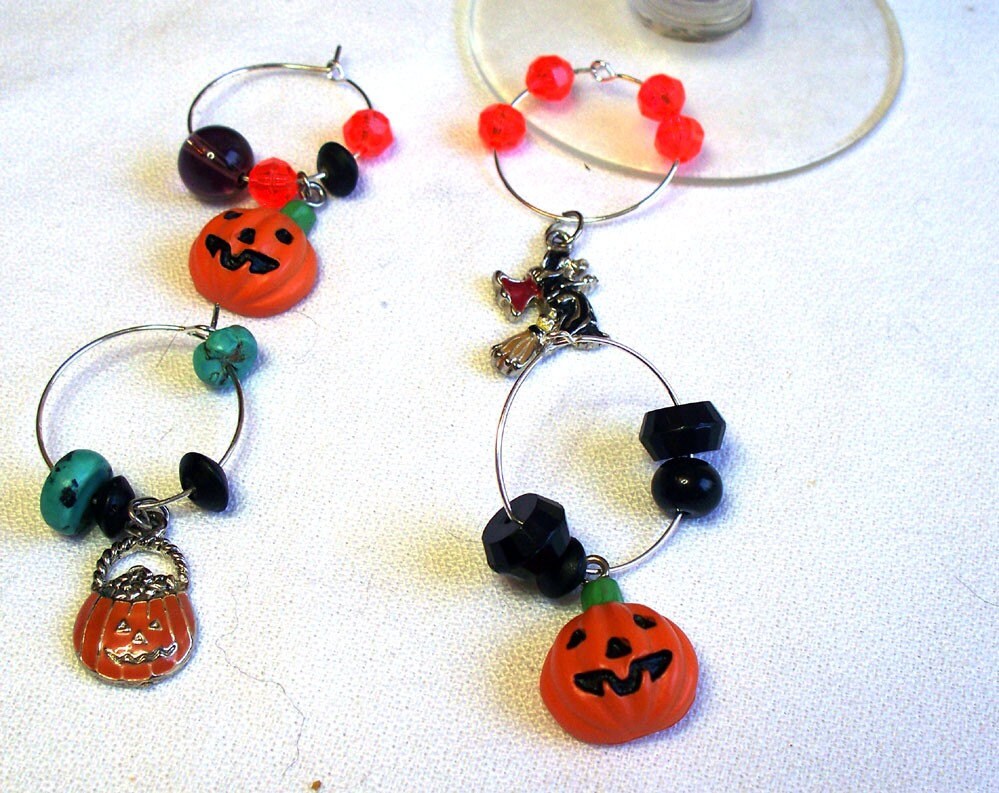
On to  lindab142 's shop where I found these great Halloween Wine Glass Charms!

Halloween Wine Charms - set of 4
 
 
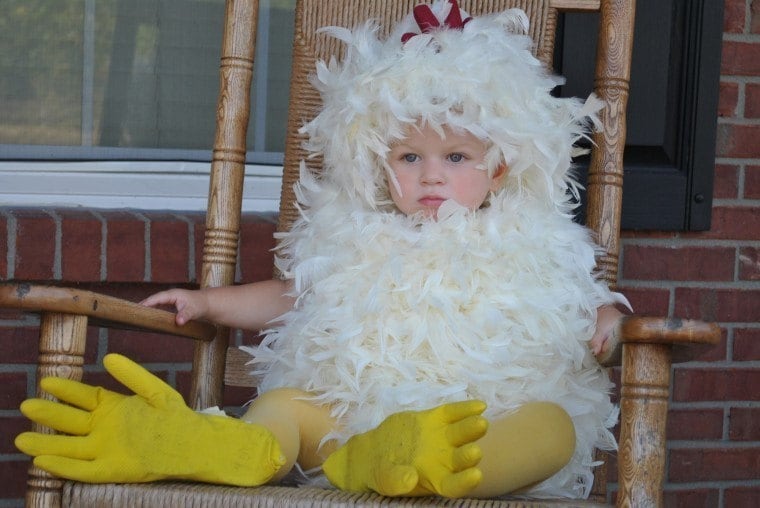
Final stop today EmbroiderMeBoutique where I found this set of Chicken Costumes.  Aren't they just the CUTEST costumes you've ever seen?!!
 
Kids/Children Halloween Chicken Costume Boys or Girls Youth Size Sm/Med/Large 4/5/6/7/8/10/12/14Adult Halloween Custom Chicken Costume Mens/ladies Sizes Small/Medium/Large/XLarge


This year I am totally doing ALL my Christmas Shopping on Etsy!  Something about the personalization, handmade goodness, and art... not to mention I can stay home and shop... no crazy wild traffic going on.... no rushing...no pushing....no grabbing....  AND it comes right to  my front door!  Gotta love it!
 
 
                                                                      ...and YES I'm still giggling....are you??! 
 
Great weekend wishes to you!

Awesome Prim Witch Hat Giveaway -- Ends 10/15/10!

Denise over at KKL Primitives is giving away an awesome Witch Hat! 


You simply HAVE to check out the amazing Primative designs!!! Drop by KKL Primatives  - HURRY!  Giveaway ends tonight (10/15/10) at midnight!

Friday, October 1, 2010

Smell My Feet Bag Topper! LOL!

Could it really be........Witch legs????
NO.... they're dipped pretzel rods silly!  No Tricks! Just Treats this Halloween!


Printable template with instructions available for download in our Etsy store.... or  if you use Sure Cuts Alot (SCAL) and a Cricut, download the SCUT  and sentiment tags below.


Thursday, September 23, 2010

Halloween Boo! Bear Banner

Good Morning!  The calendar tells me Fall is here in South Dakota, however the weather is making me wonder if Spring has returned!  2" of rain registers in the rain gauge at our home, however just 15 miles away they received 6" and it is STILL raining!  I wonder how many popsicle sticks it would take to build an ark big enough to fit the two mini donkeys, 3 chicks, 1 rooster, Jake (dog), Charli (cat) and Jay & I... the waterway is running like crazy (has been since 4pm yesterday).....

OK... on to the FUN stuff!

Teddy bears and Halloween just seem to go together!  (I prefer 'cute' Halloween things....otherwise I need a blanket to cover my eyes!  --brings back too many memories of monsters under my bed.....!!!)

I designed the bears in inkscape and imported in to SCAL (Sure Cuts Alot), then cut the pieces using my cricut, pieced together, and set aside. 

Topnote pieces are cut using Accent Essentials (blackout) at 4".  I used the Eerie paper set for the next layer, accented, sewed and traced/colored bats, spider webs, etc with glitter pens. Then set aside.

 The bears are chalked, inked and pieced. (eyes are hand painted)  When finished, I sprayed them with sealer to prevent smudging/smearing the chalk.  I used small squares of coordinating paper for the ghost's patches.


The letters were cut using SCAL (Tan Patty), inked with ColorBox fluid chalk (LOVE that stuff), outlined with black glitter pen and coordinating ghost brad added to !. 

When all pieces were finished, I glued layers together, punched holes in each top corner and tied together, leaving about an inch between each, with twine (LOVE twine!);  tied coordinating ribbons to the twine between each pennant, and finished with hot gluing a tied bow and button on each corner!


Enjoy your day!

Tuesday, September 21, 2010

Tractor Easel Birthday Card

Jay's father has great love for the land and tractors.  Thus the inspiration for easel this card! 
I found the instructions for the easel card here!   Following the tutorial, I put the card together, then selected the graphics, lightened the background using paint shop pro, added the sentiments and printed.  Using glitter markers, I colored in the cornstalks in the background and traced over 'The Greatest Gift', which added a little sparkle.  The tractor and 'Dad' are cut with the Cricut and SCAL. I punched holes in the red/black layered rectangle then strung twine through the holes and tied on the backside before adhering to the background.


Using the same corn graphic design on the inside, I printed and colored with glitter markers.

I got a pretty good giggle when Jay went to sign the card for his dad..... he didn't want to 'ruin' the sparkling cornstalks, so signed the card up on top, under the flap!!! :)

This card was entered in the 'Old McDonald had a farm' challenge over at Challenge Up Your Life.

Enjoy your day!